

Tutorials
How to Cross Stitch in 10 Simple Steps
Apr
By Donna Murphy
1. Assemble your gear
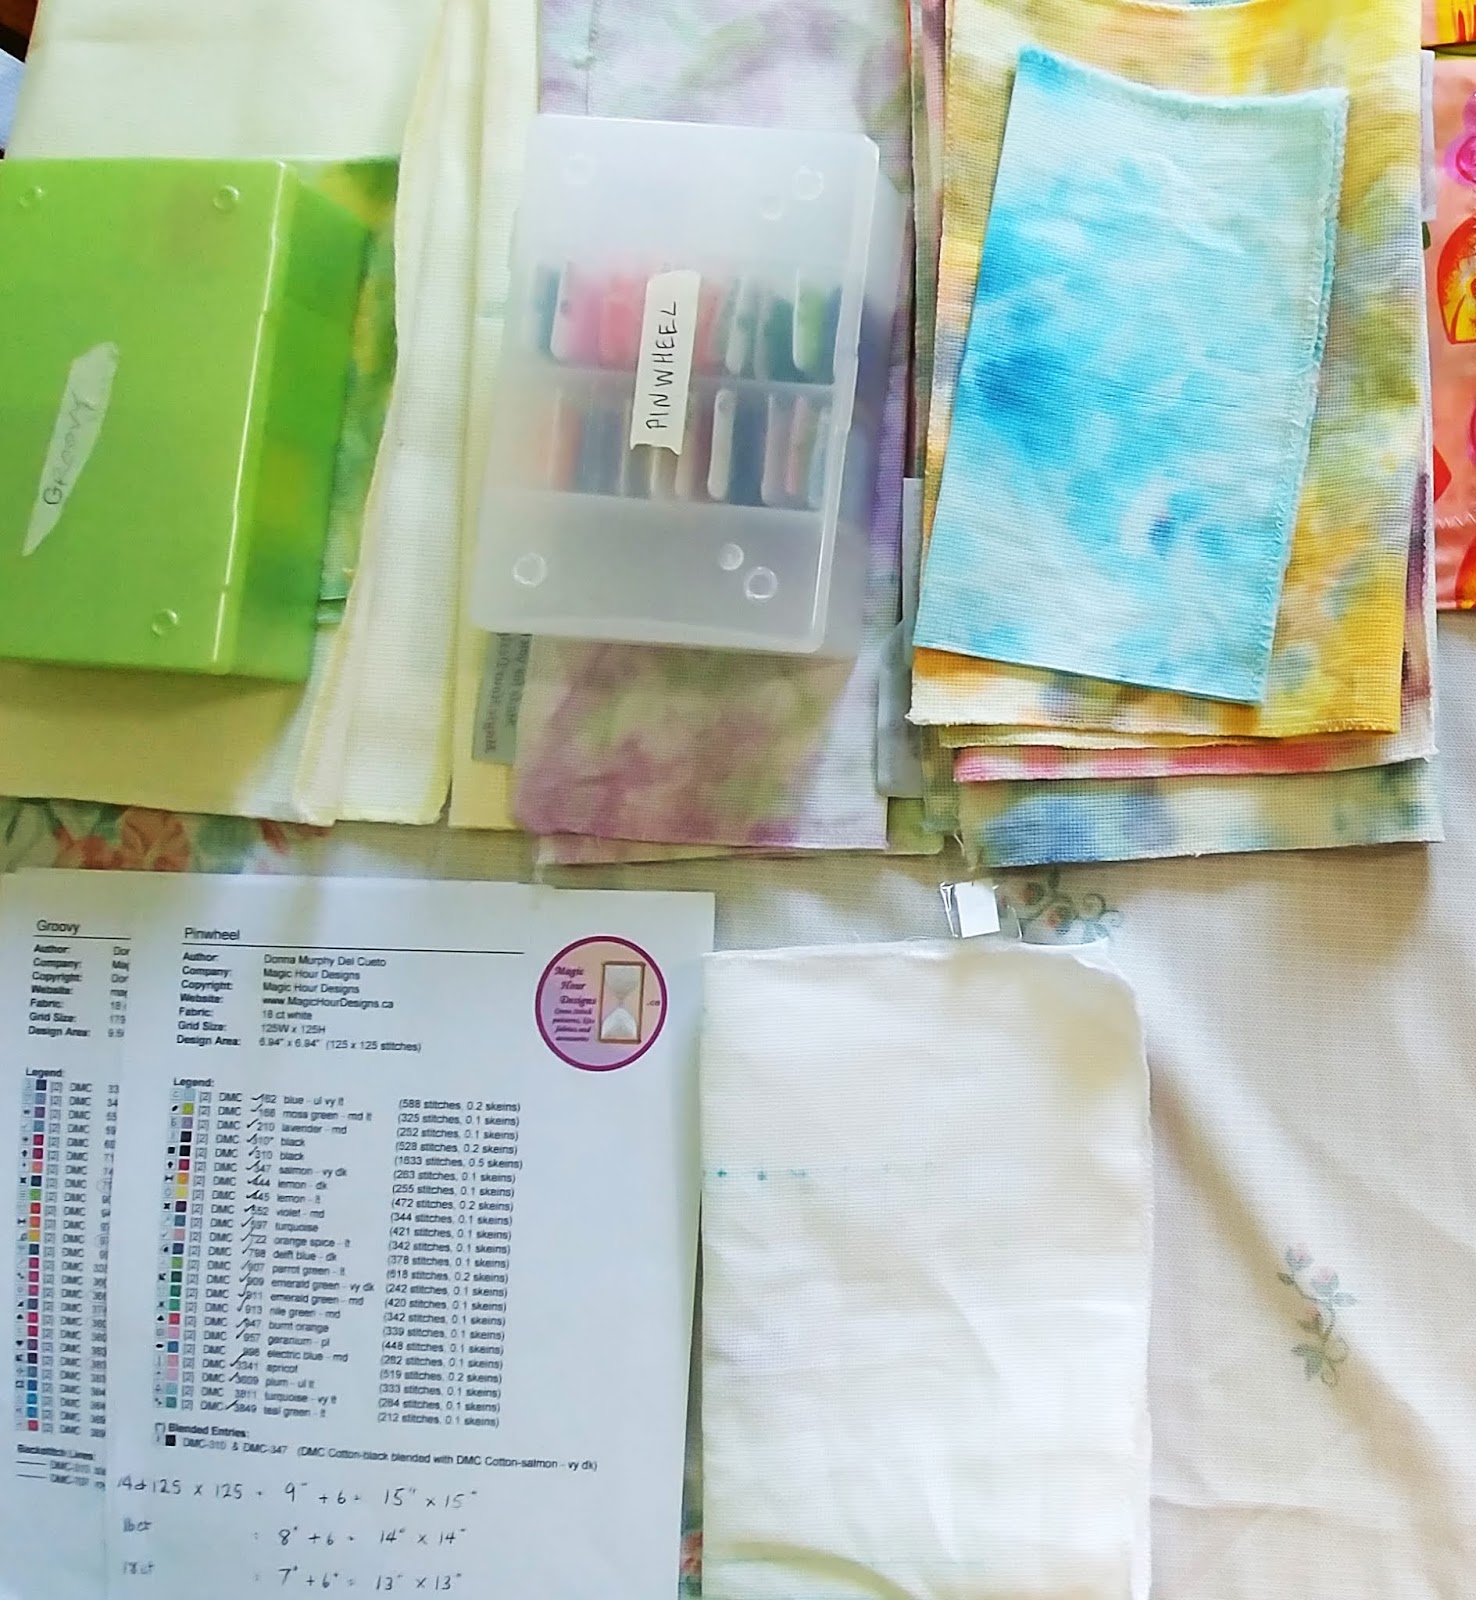
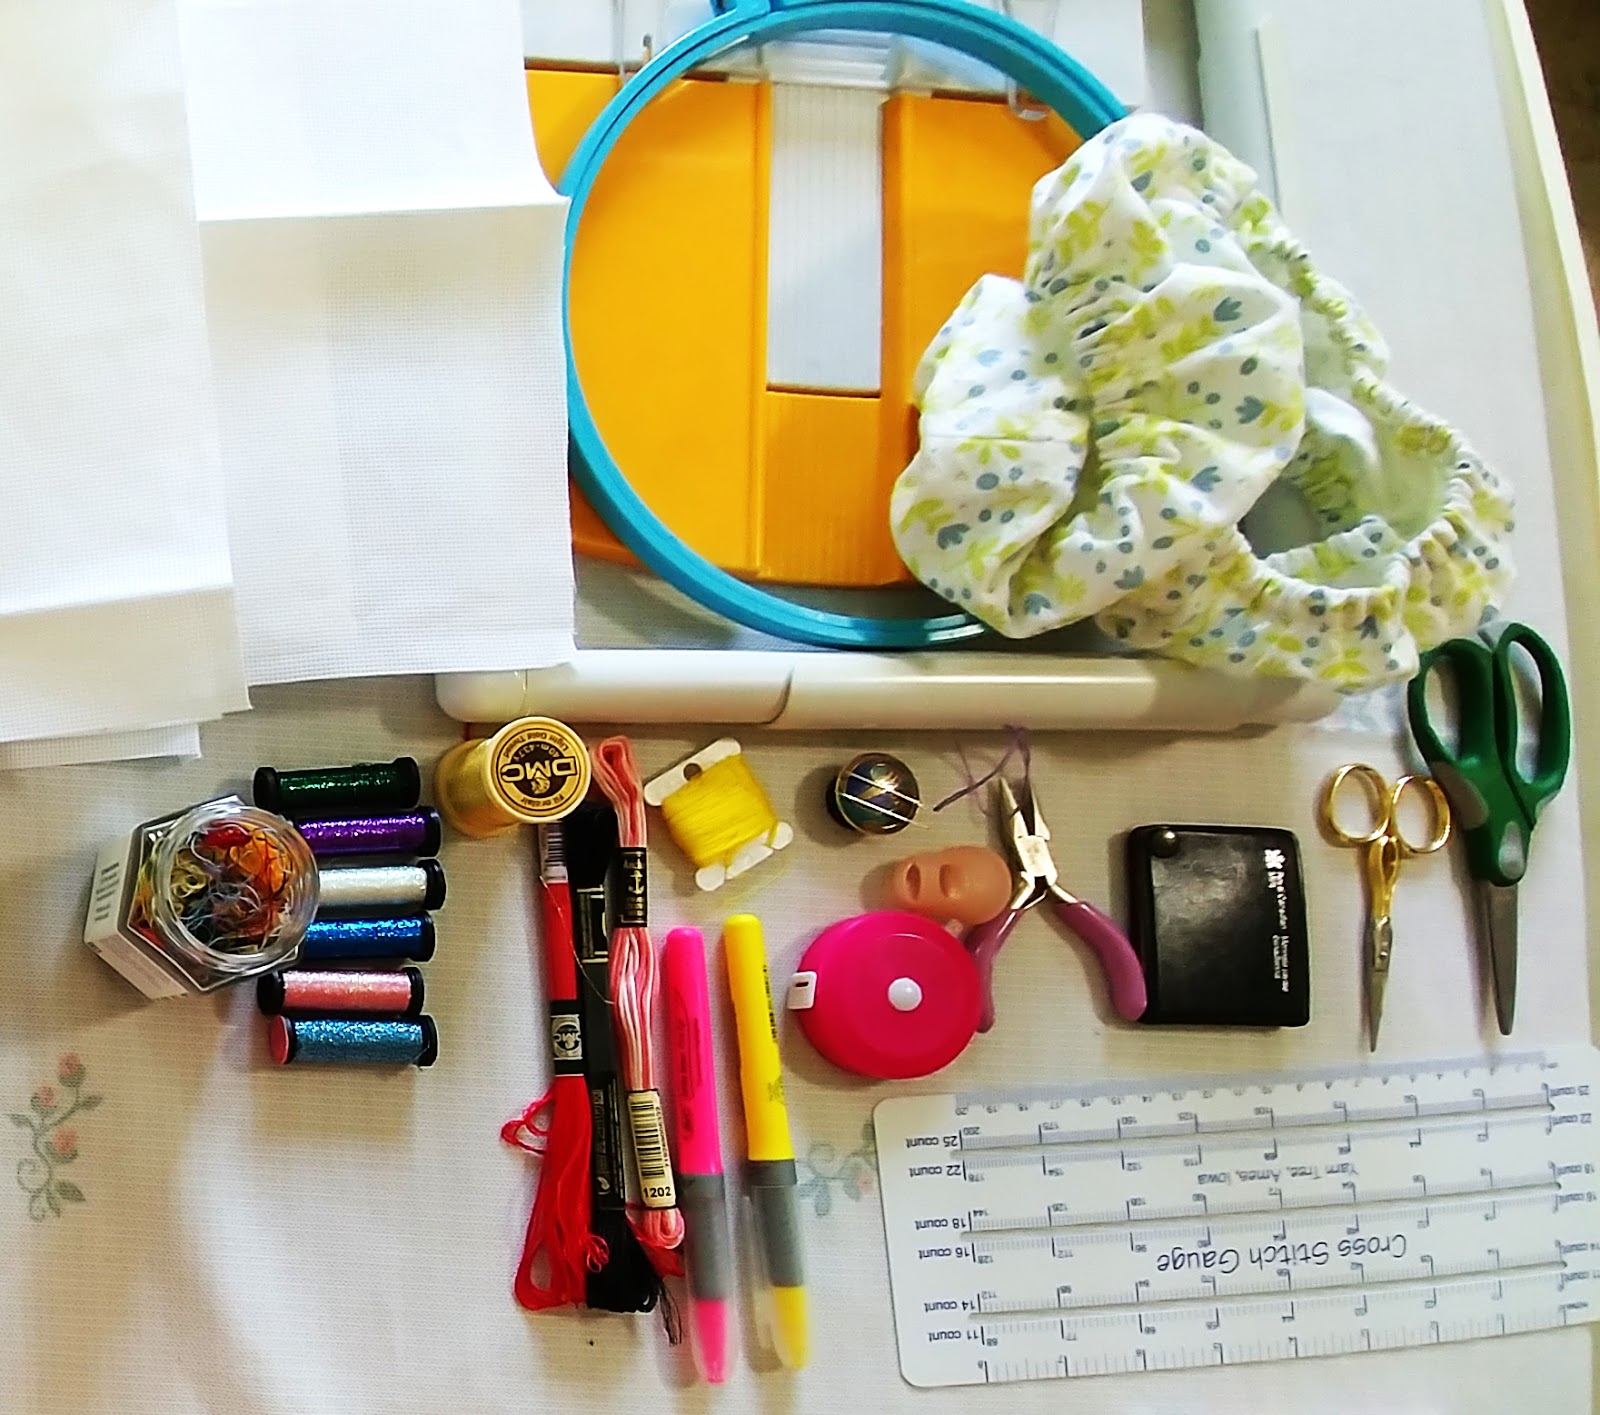
Pattern
Fabric
Floss
Needle
Scissors (these are the essentials)
Pink and Yellow Highlighters
Hoop or Qsnap
Needleminder (these are helpful but not essential)
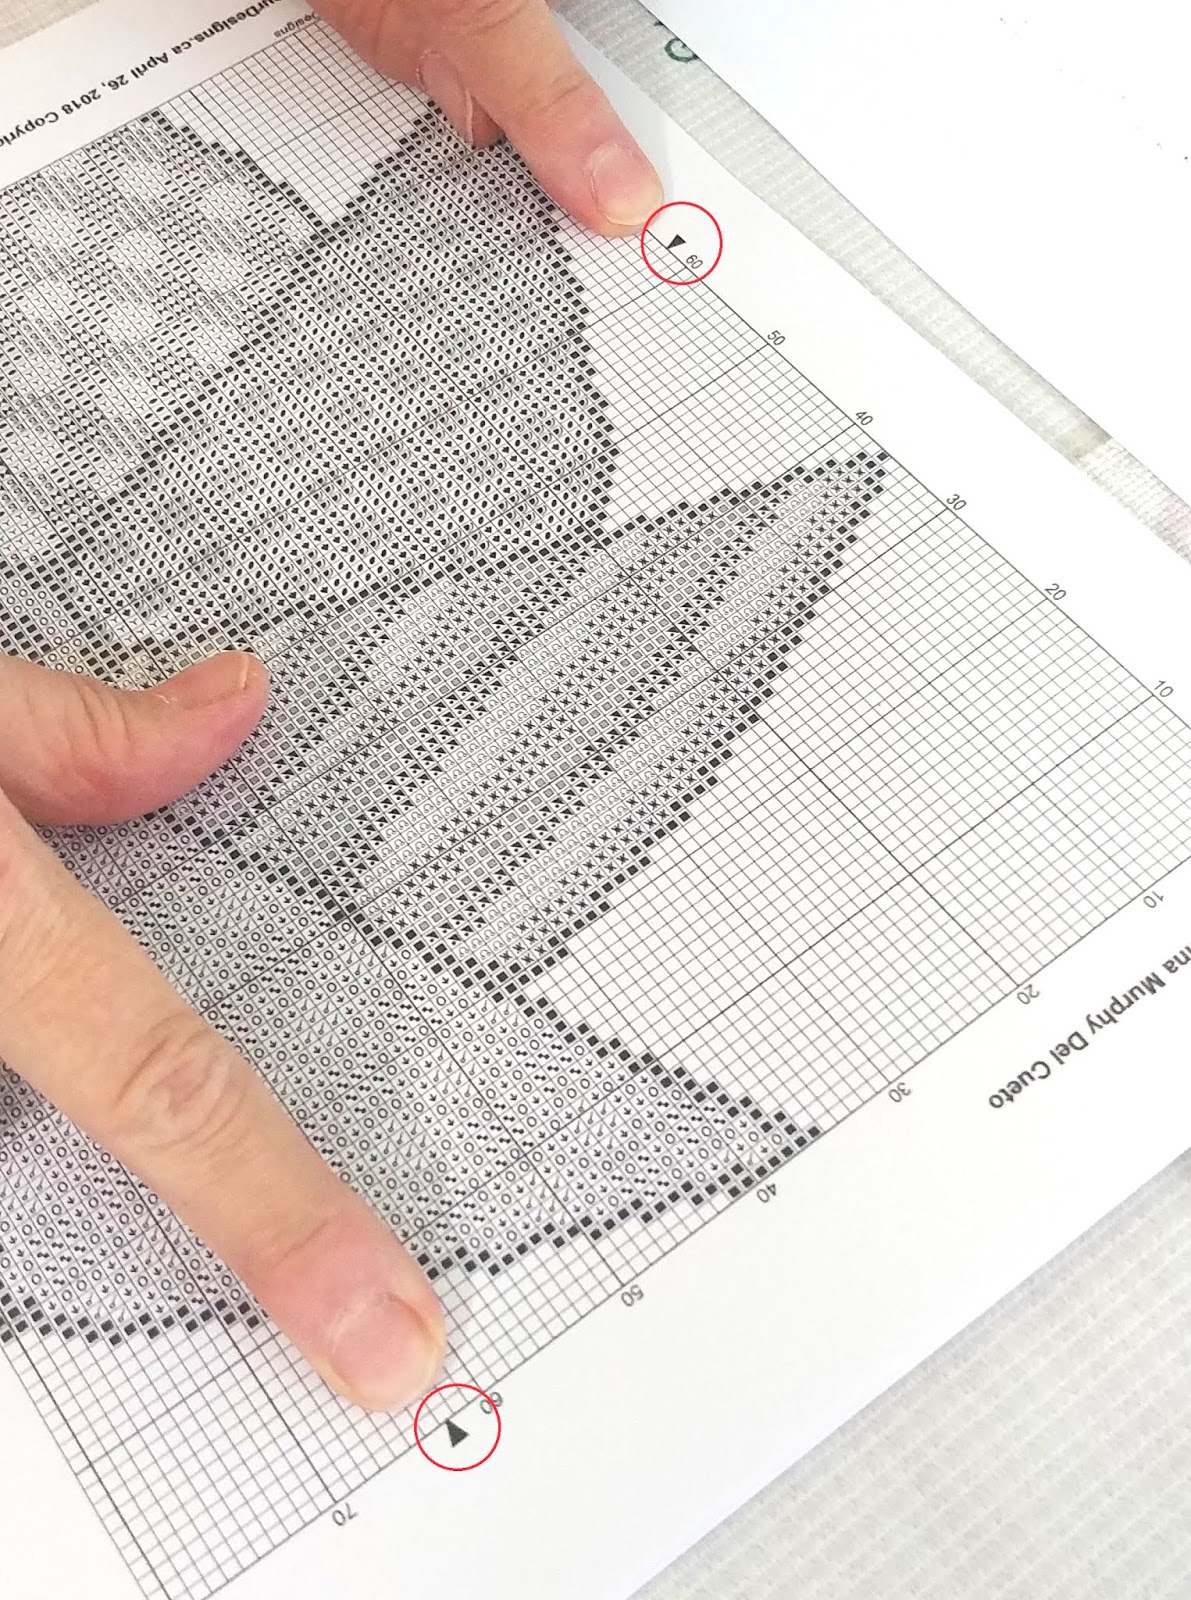
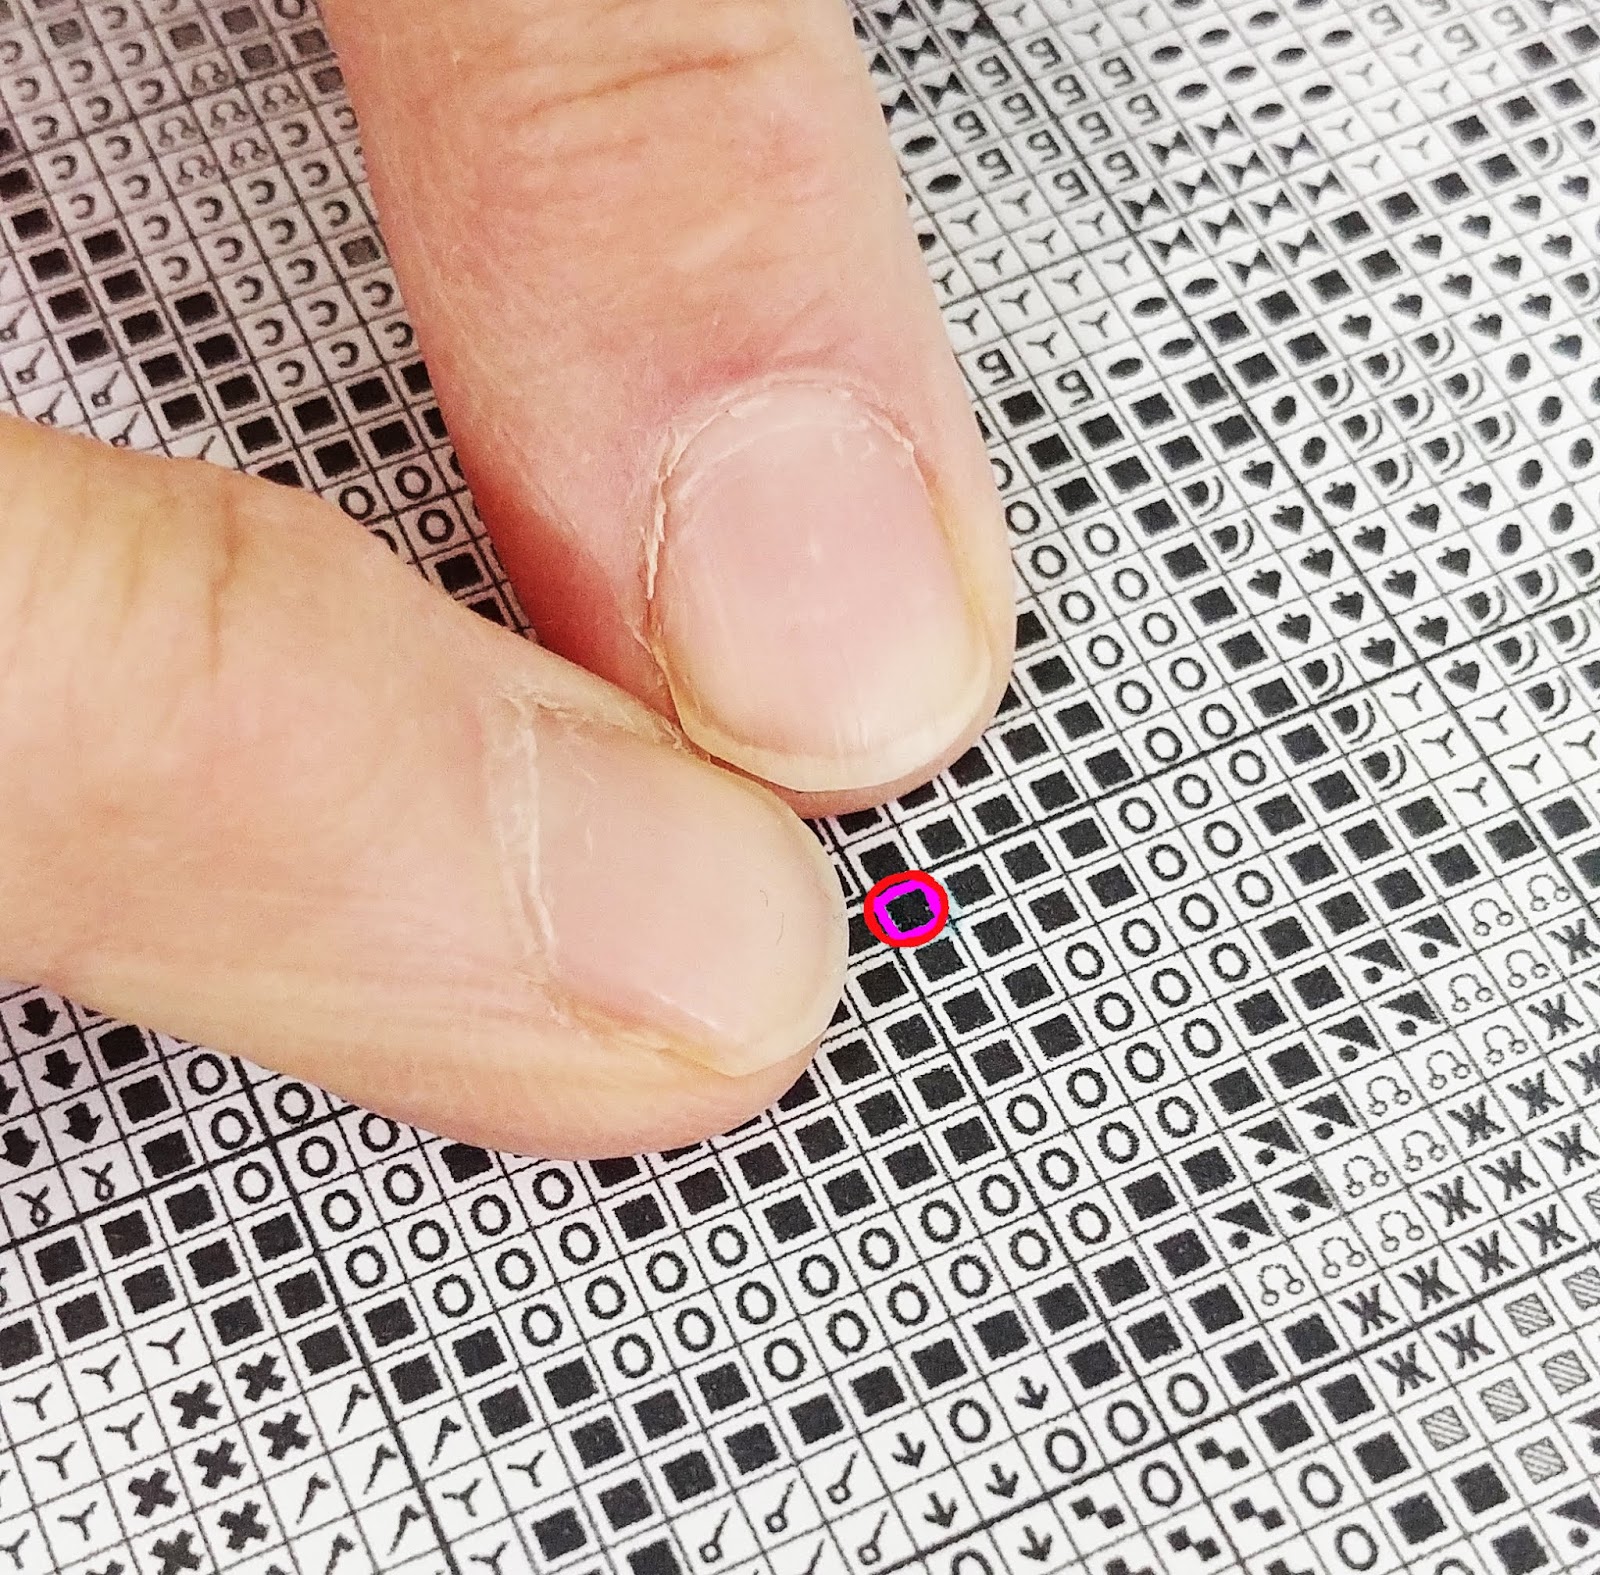
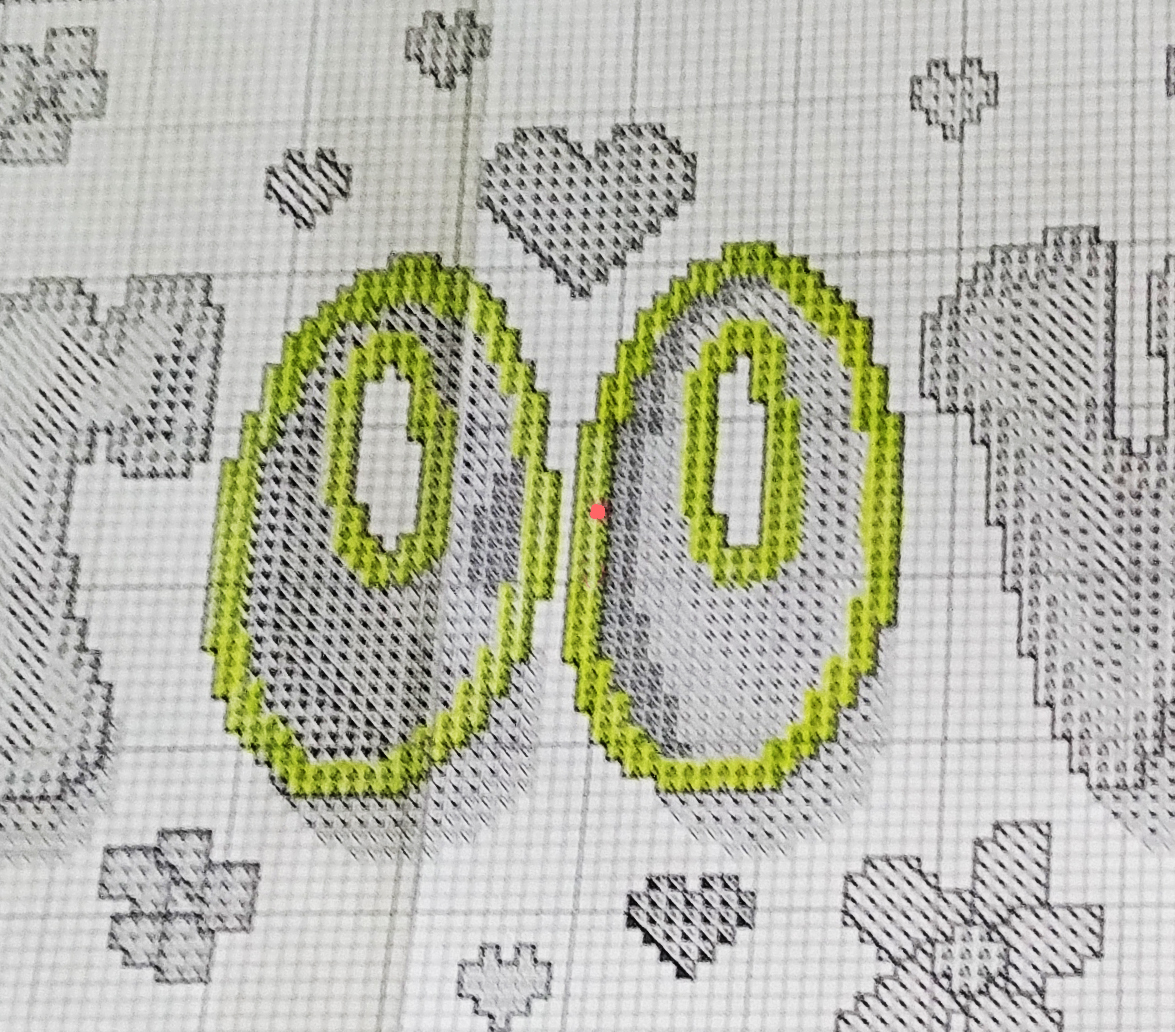
1 2. Find the center stitch on your pattern.
Look for the little triangle arrows at the top and the left side. Whether the arrow is pointing to a line, or to a column or row of stitches, where those two arrows intersect is the center stitch. If on a line, use the stitch next to the line (it doesn’t matter which side). Highlight that stitch with the pink highlighter. Note the symbol.
1
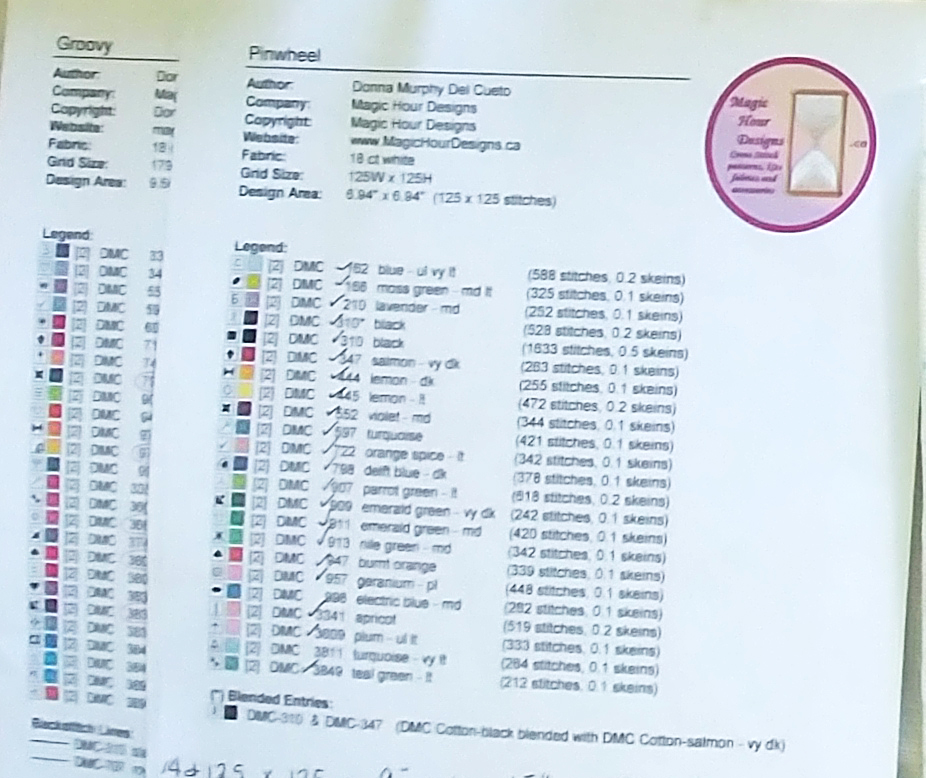
3. Find your center stitch symbol in the legend.
In the legend on your pattern, locate the symbol that is the center stitch, and see what colour of floss it is. From that colour of floss, cut an arm’s length piece, then separate it into the required number of strands. I use 3 for 14 count, and 2 for 16 or 18 count. Thread the needle, leaving the tail loose, without a knot. There should be about six inches at the end that is just the 2-3 strands you are going to stitch with. Put the rest aside neatly.
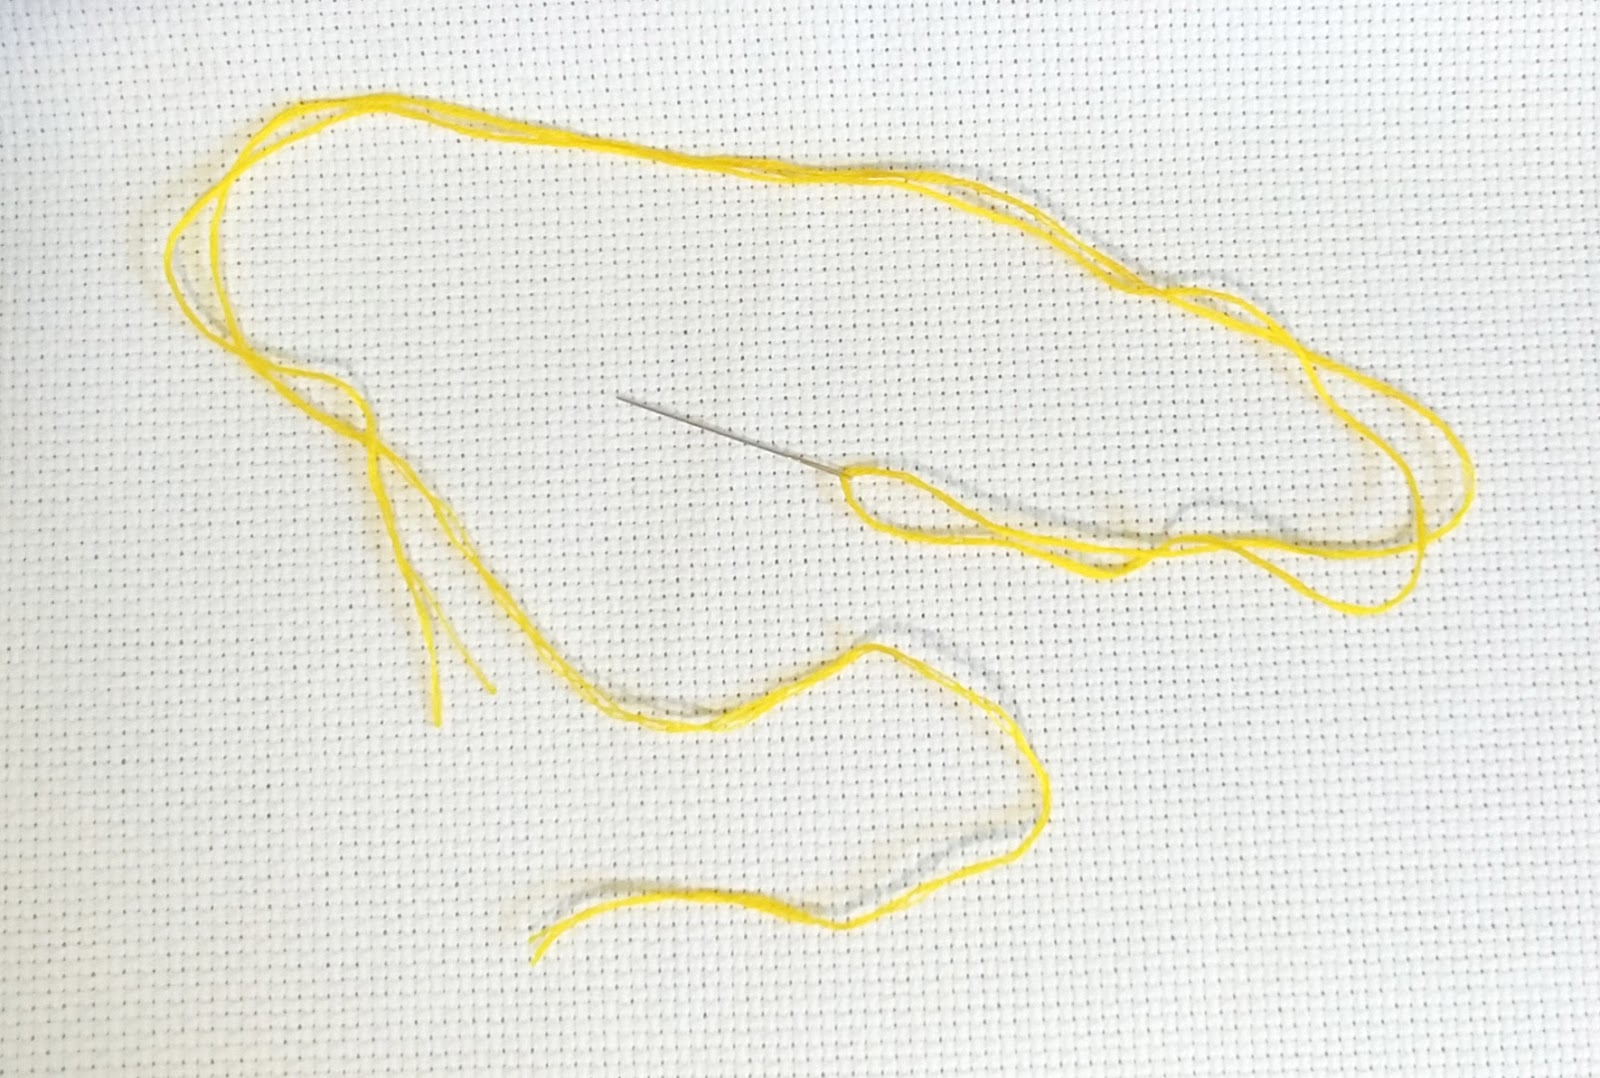
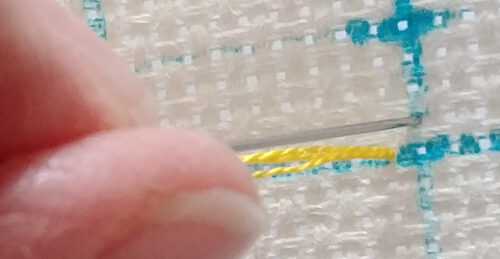
14. Find the center stitch on your fabric.
Fold the fabric in half one way, and press firmly with your fingers at about the middle, creating a crease. Repeat in the other direction. With your threaded needle, bring the needle up through the bottom left hole of your center stitch.
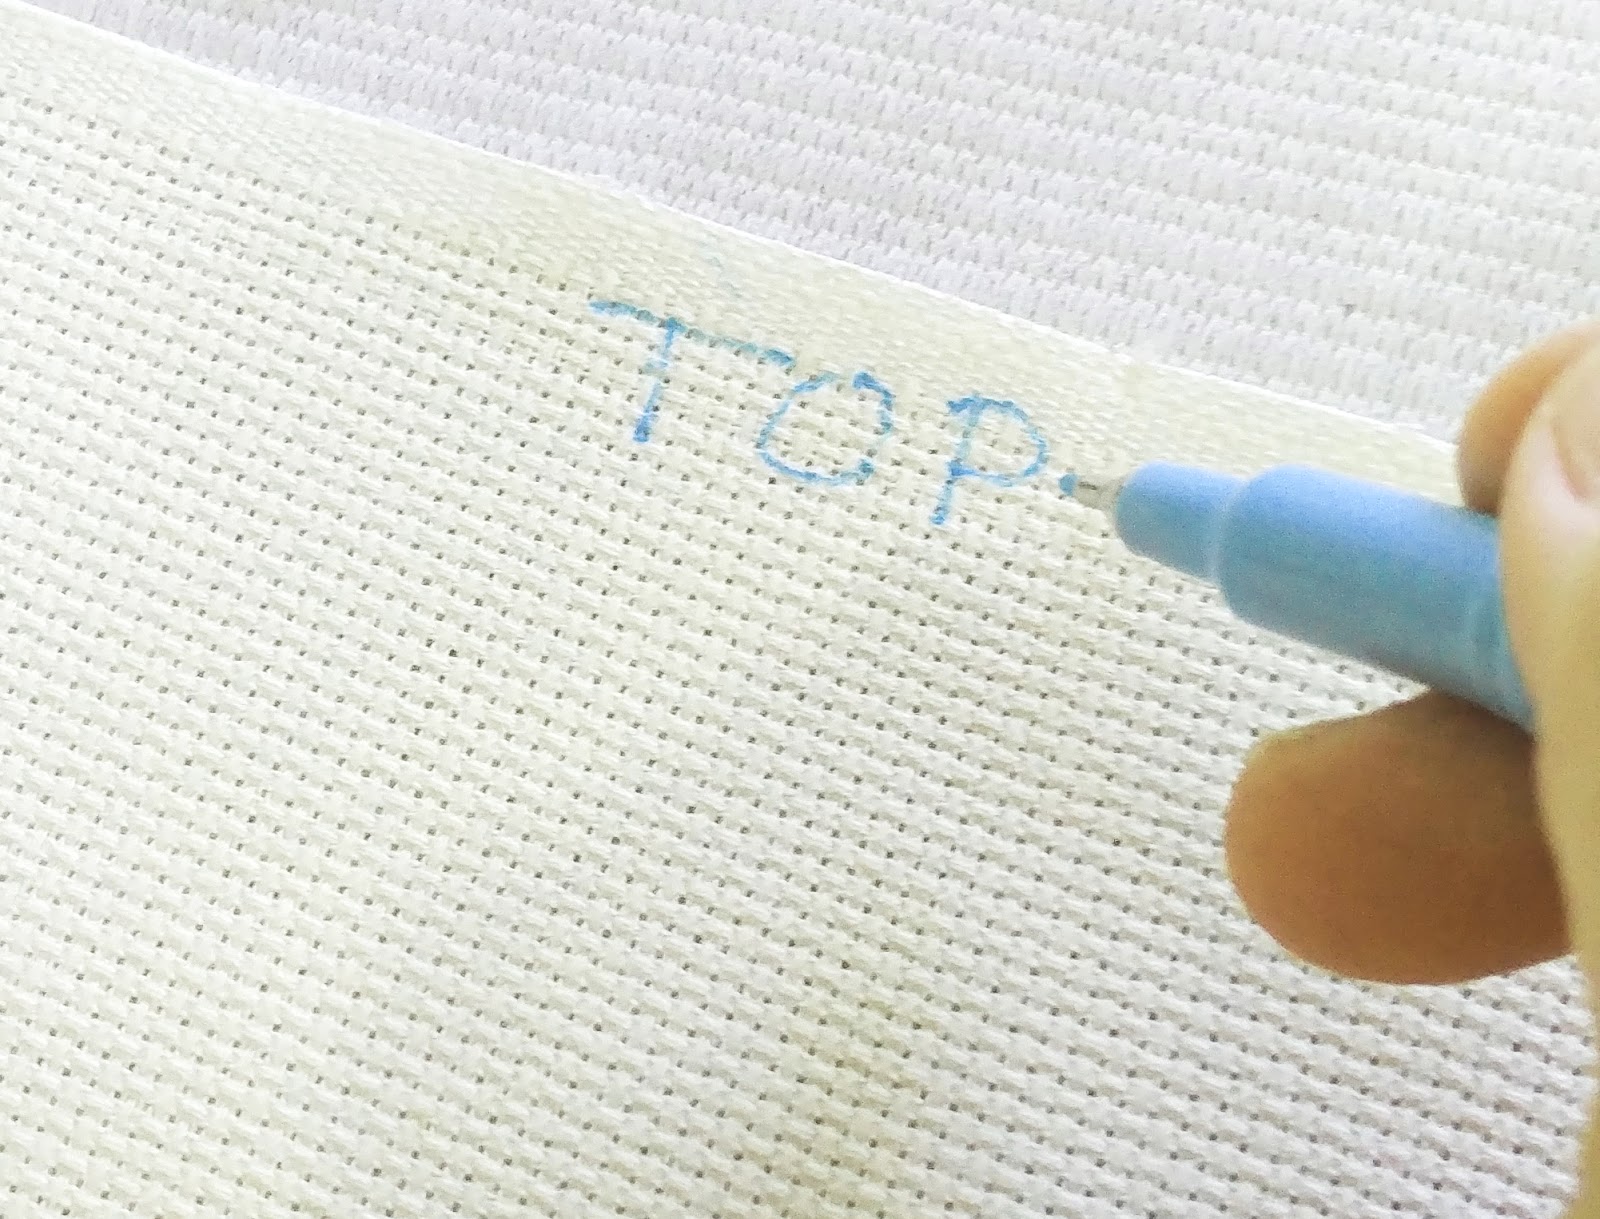
1 5. Mark the TOP of your fabric.
If your pattern and fabric are rectangular, rather than square, make sure that the fabric is oriented correctly. (ie. Not “portrait” when it should be “landscape” for example). With your pink highlighter, make a tiny mark at the very top edge of your fabric so that you have a reference check until your picture starts to take shape. If you have a water erase marker, use that instead, but the very edge is not seen in the finished project anyway, so a dab of pink on the edge will be okay.
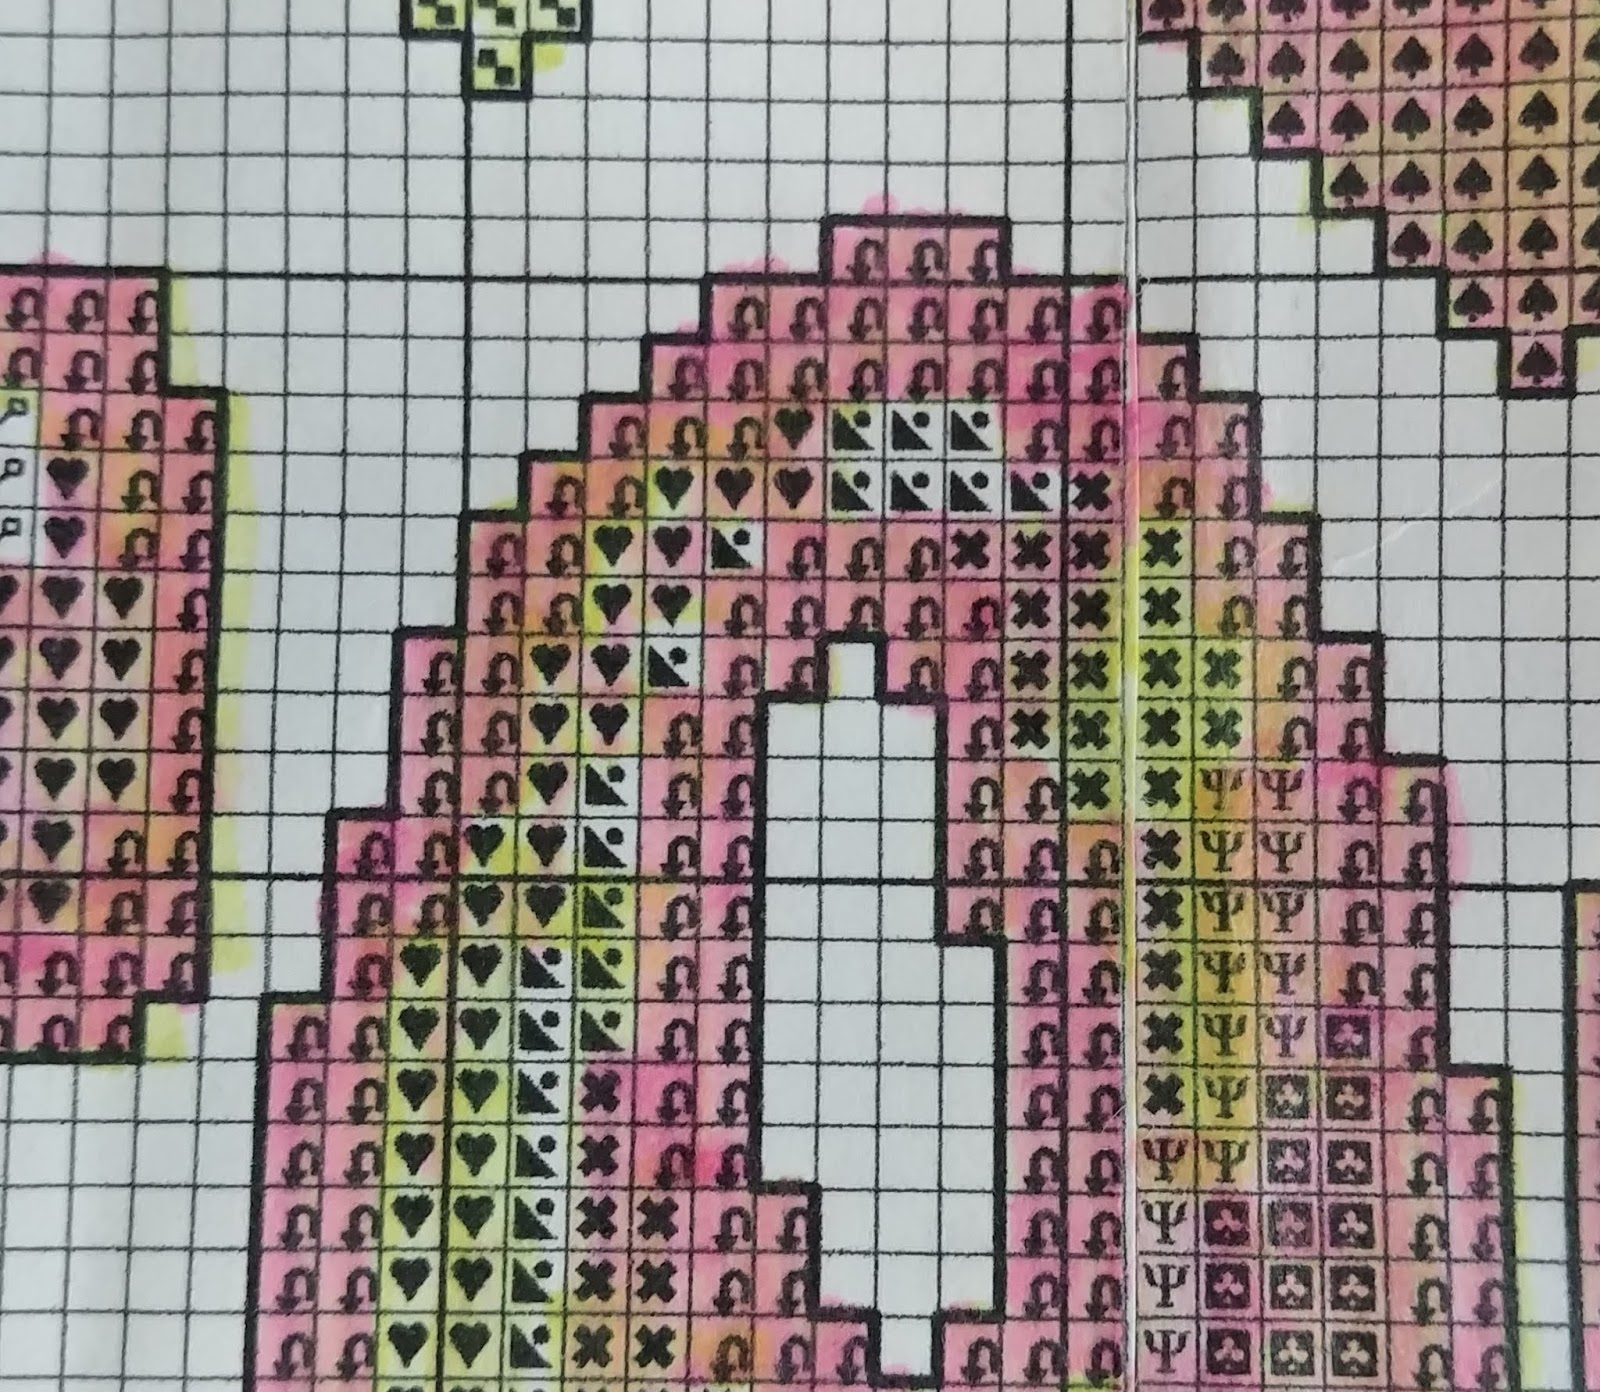
1 6. Highlight your stitches.
Using the yellow highlighter, mark all the symbols on your pattern that match the center stitch and are not too far away (no more than eight or ten stitches from the closest matching stitch). Now you’re ready to begin.
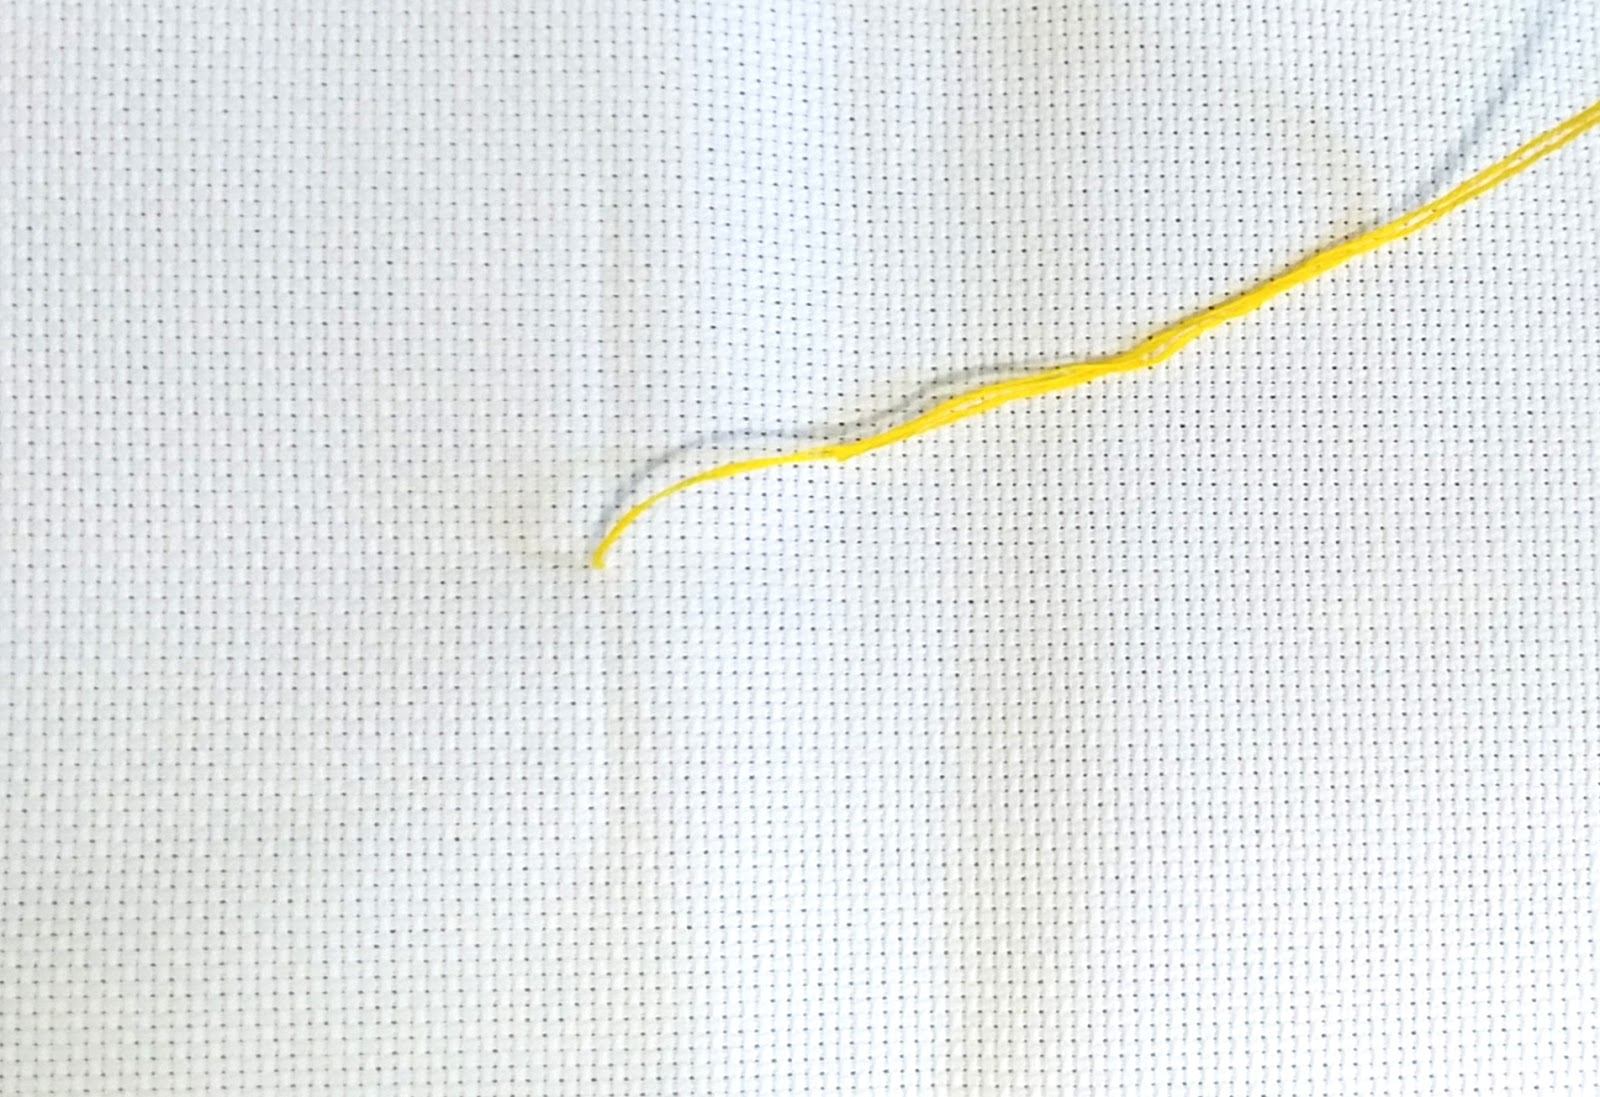
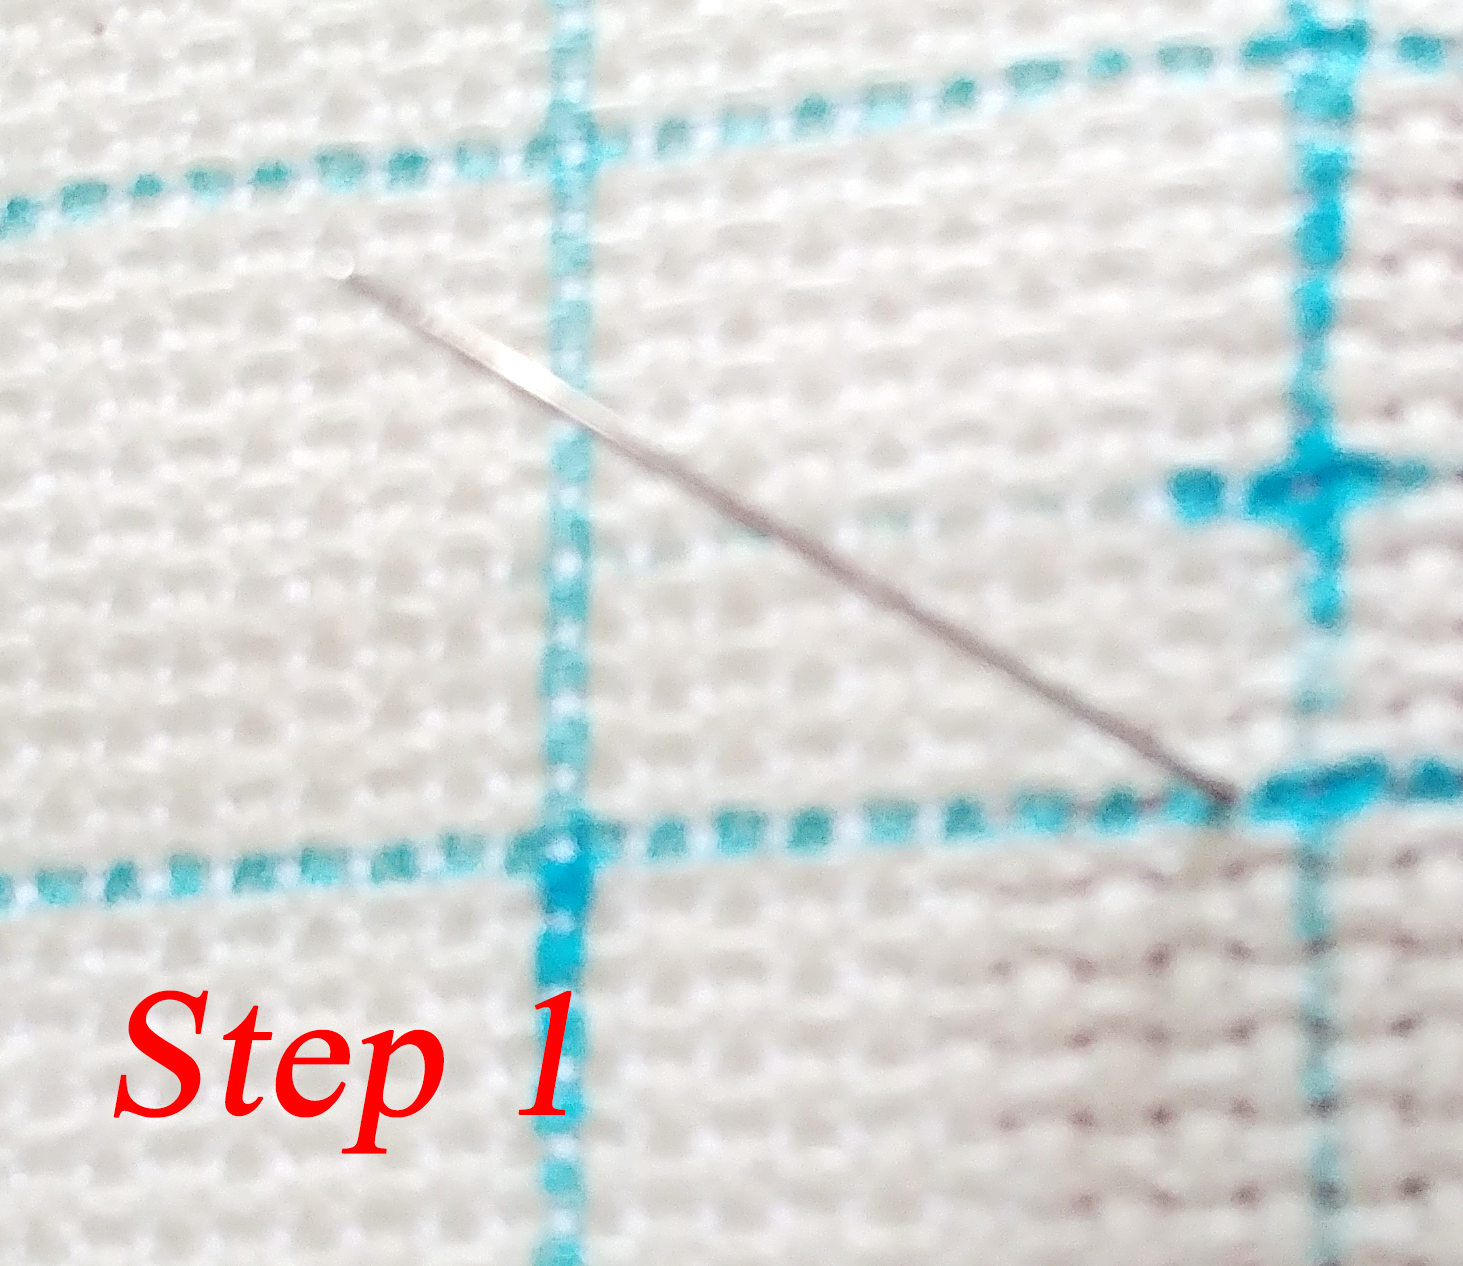
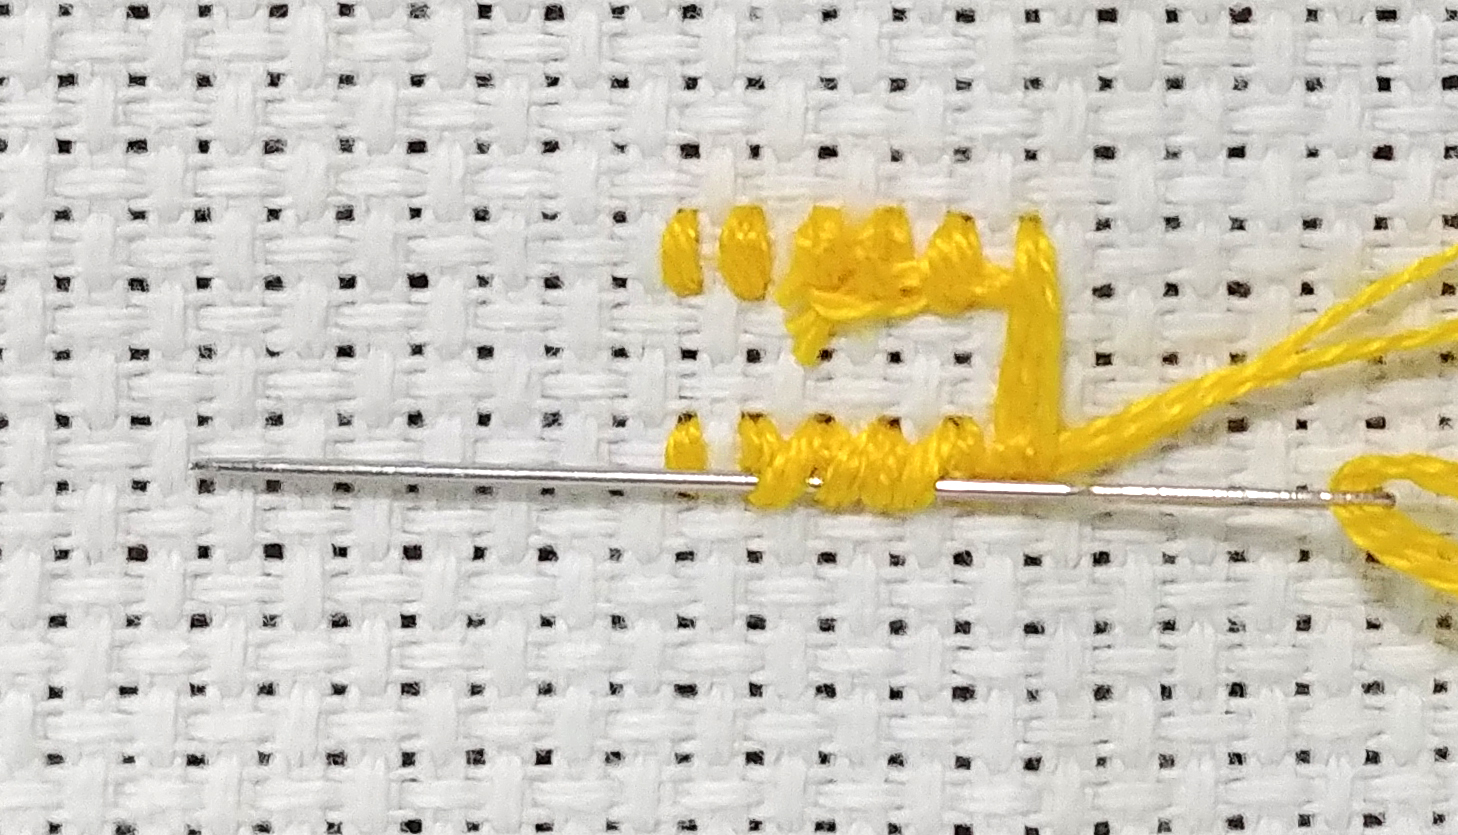
1 7. Take your first stitch.

(Step 1) Your needle is already up from the back at the bottom left corner of your first stitch.
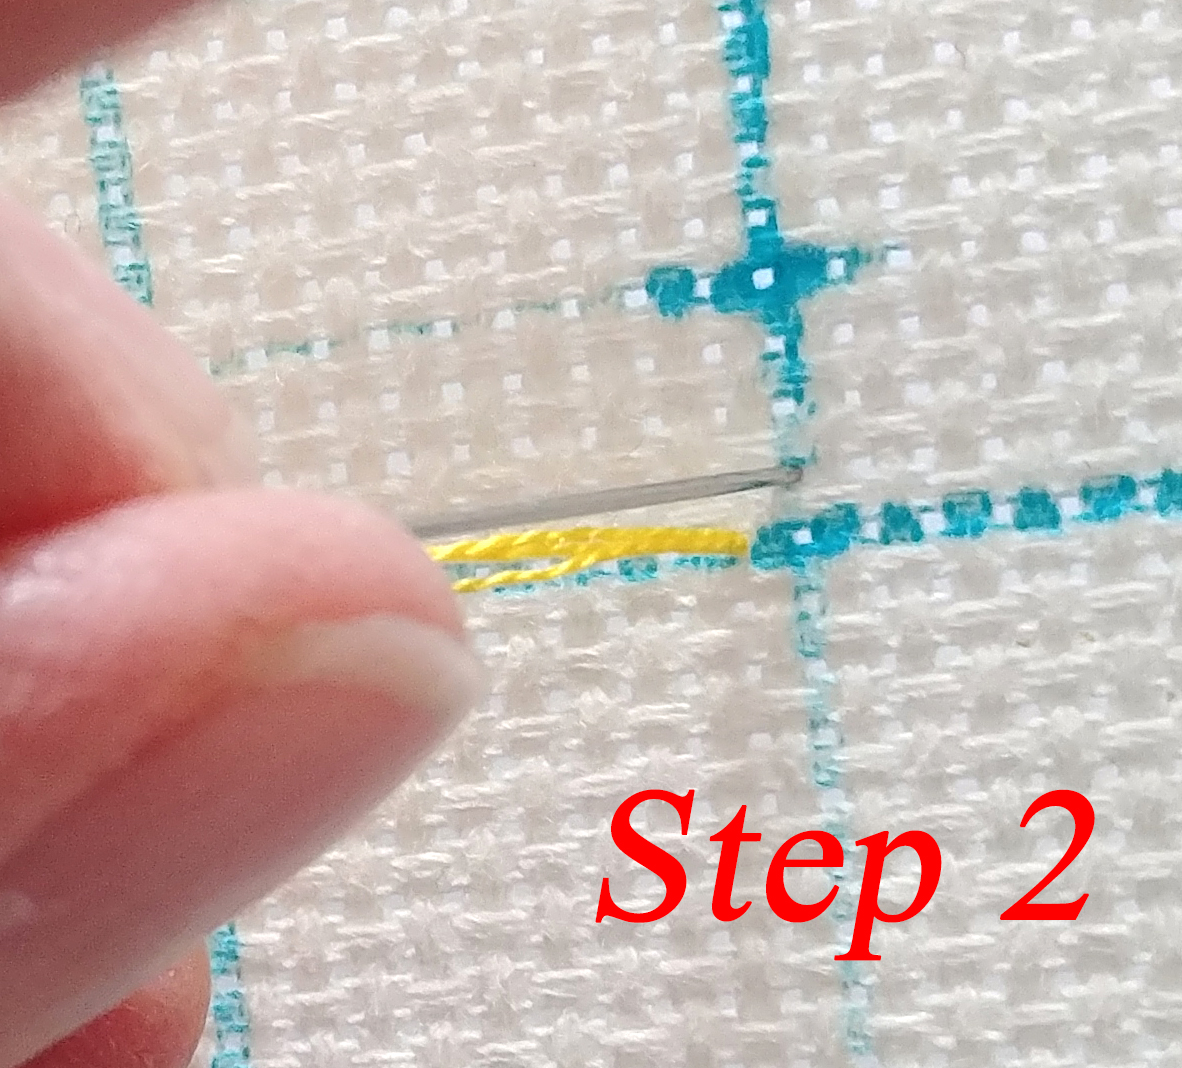
(Step 2) Now put it through down from the front at the top right corner of that stitch. Pull it enough that the doubled over part is pulled through, but there is still lots of tail.
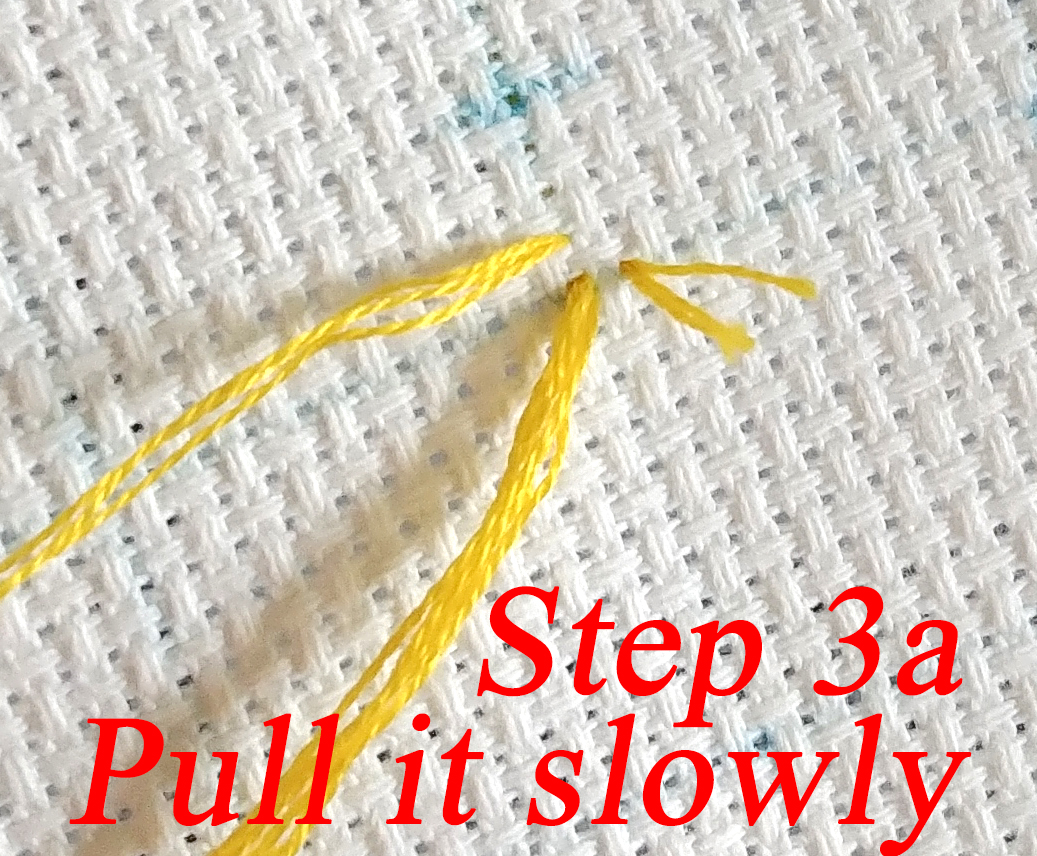
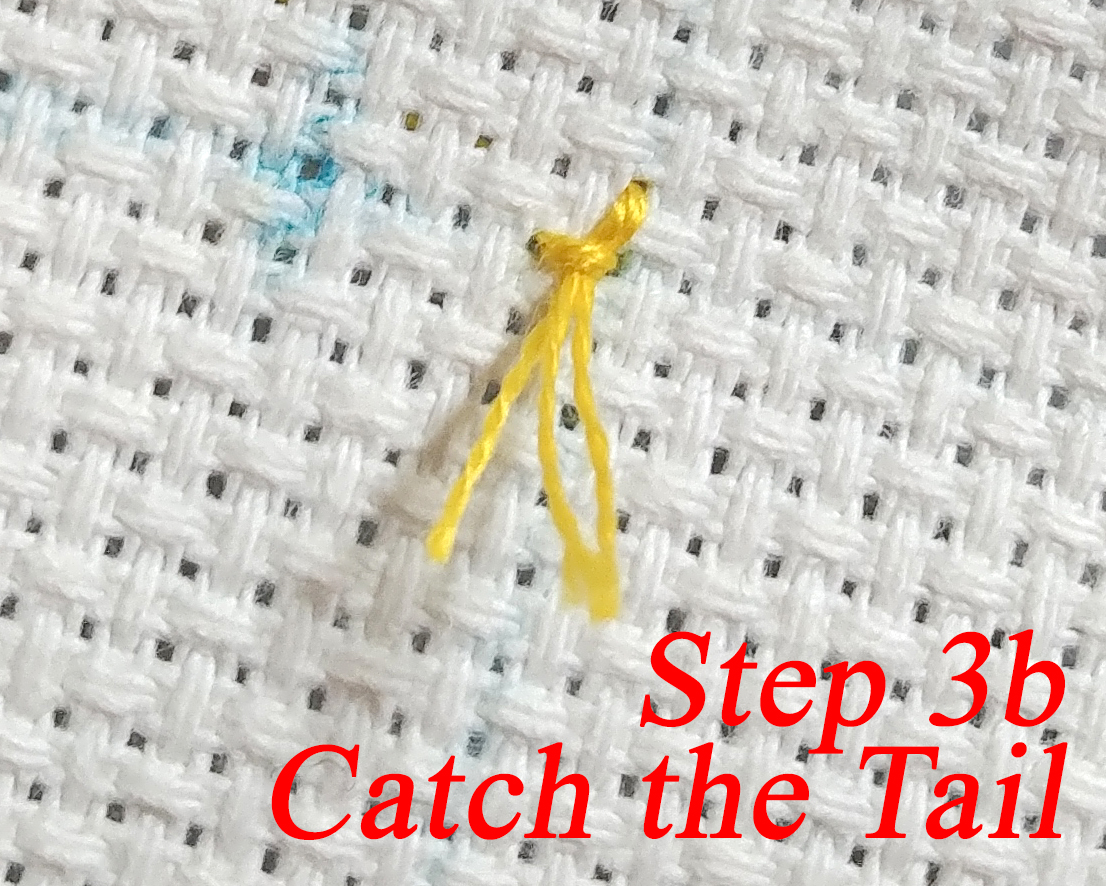
(Step 3) Put the needle up again the bottom right corner of that stitch. Pull it slowly through while watching the back (3a), so that the tail is caught in the loop as you pull the thread. (3b)
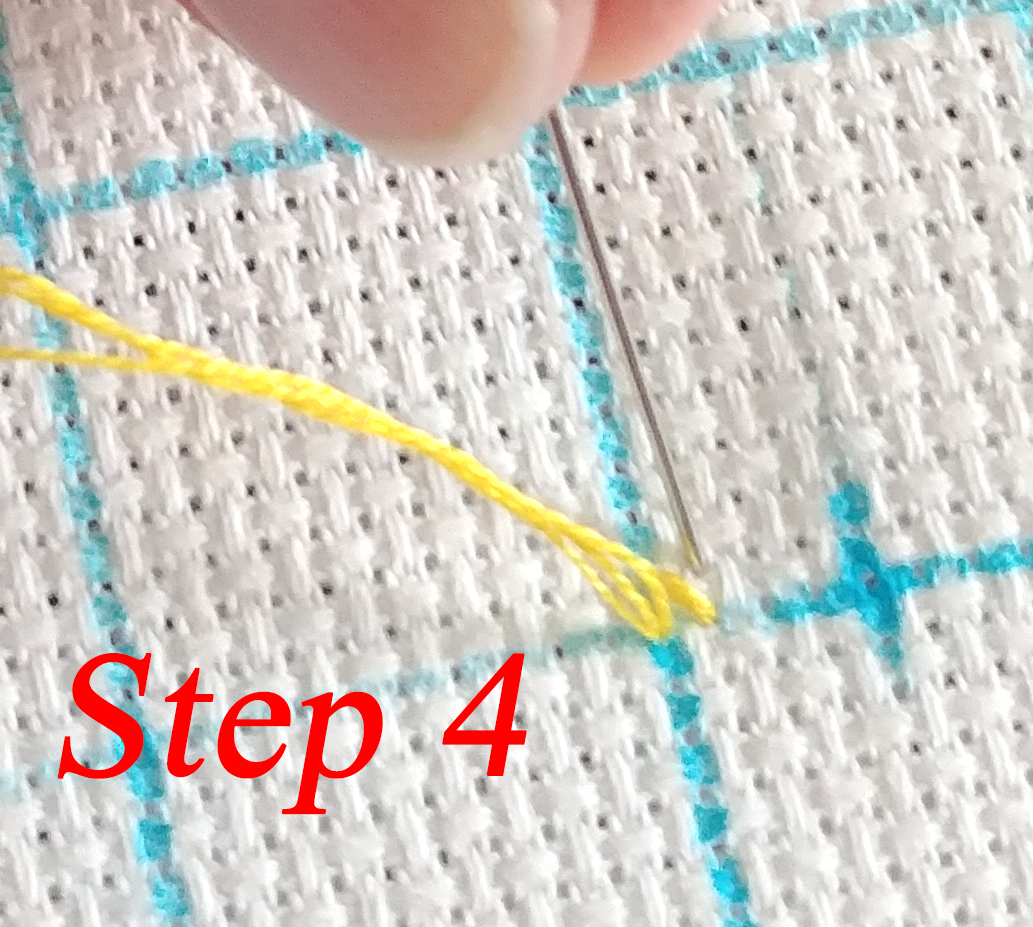
(Step 4) When that thread is locked down, you can finish that stitch (going down in the top left corner of that stitch).
Now you’re ready to go on to the next stitch. Only the first stitch of a thread needs to be locked down.
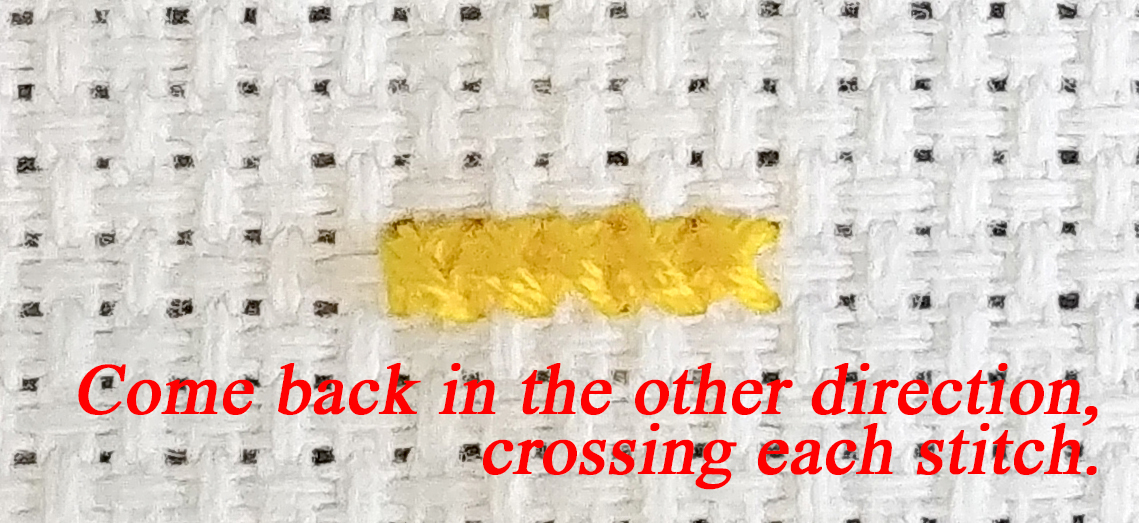
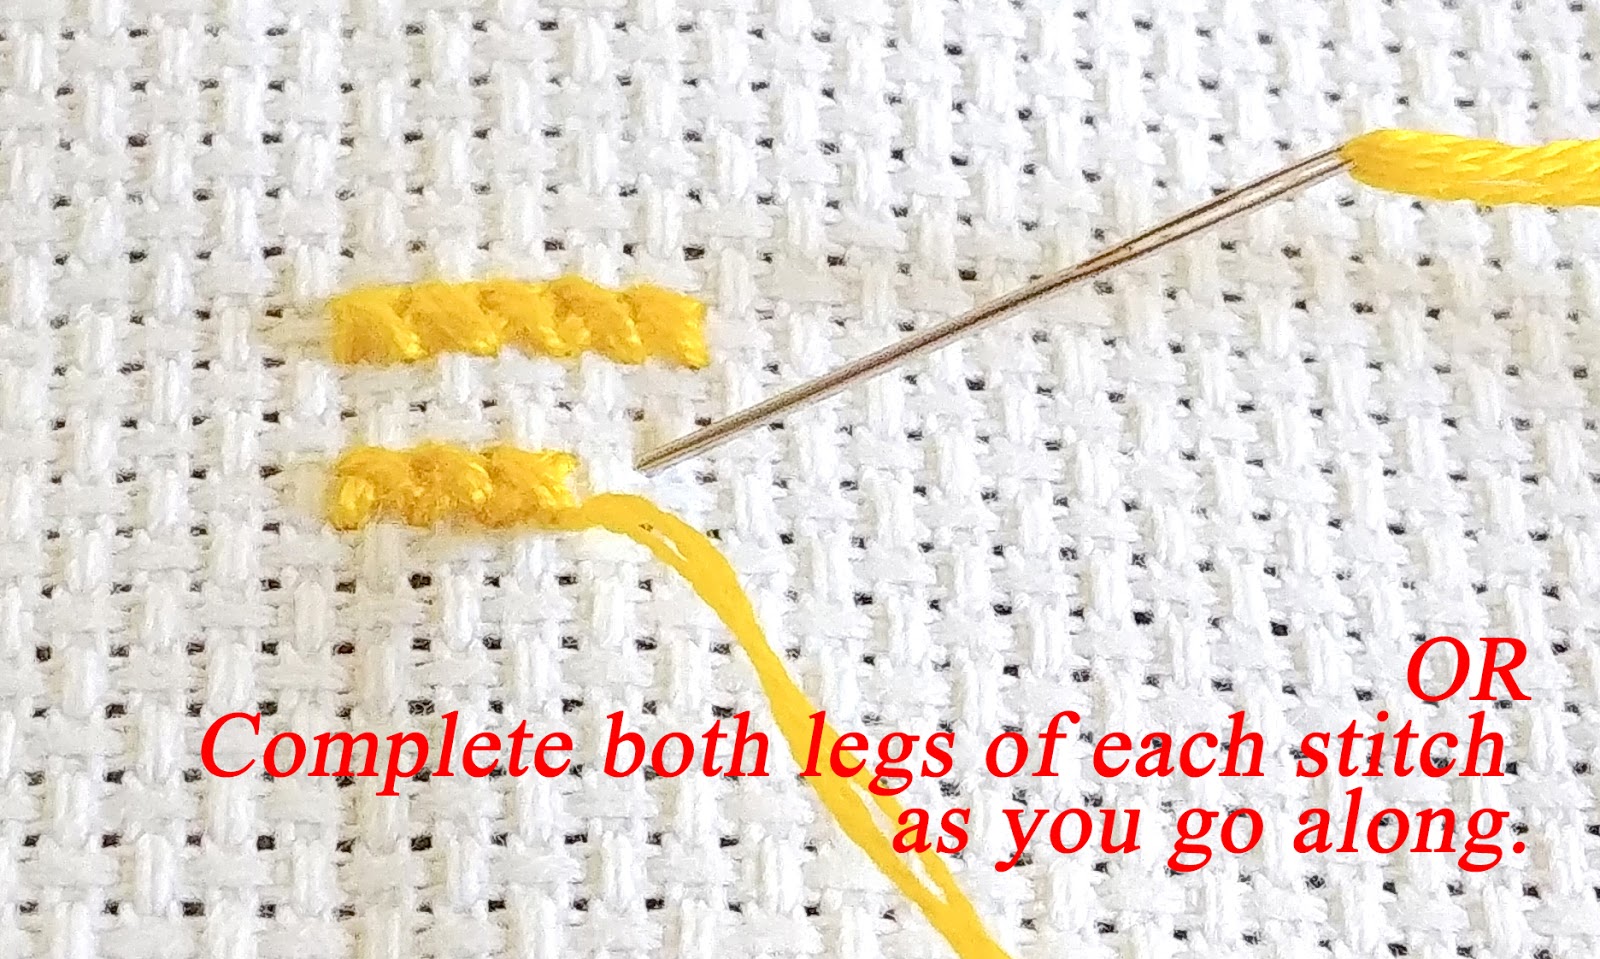
1 8. Proceed to stitch.
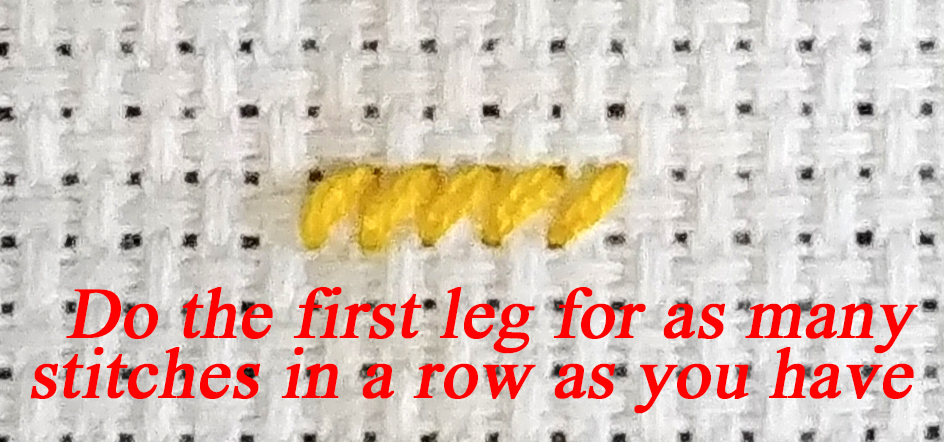
Continue stitching the symbols you have highlighted. You can stitch //// then \\\\\ or you can stitch XXXX. Be consistent with which “leg” of the stitch is on top. As you complete your stitches, highlight it with the pink to keep track of where you are and which stitches have been done. When all those stitches are done, you can move on to a different colour and symbol.
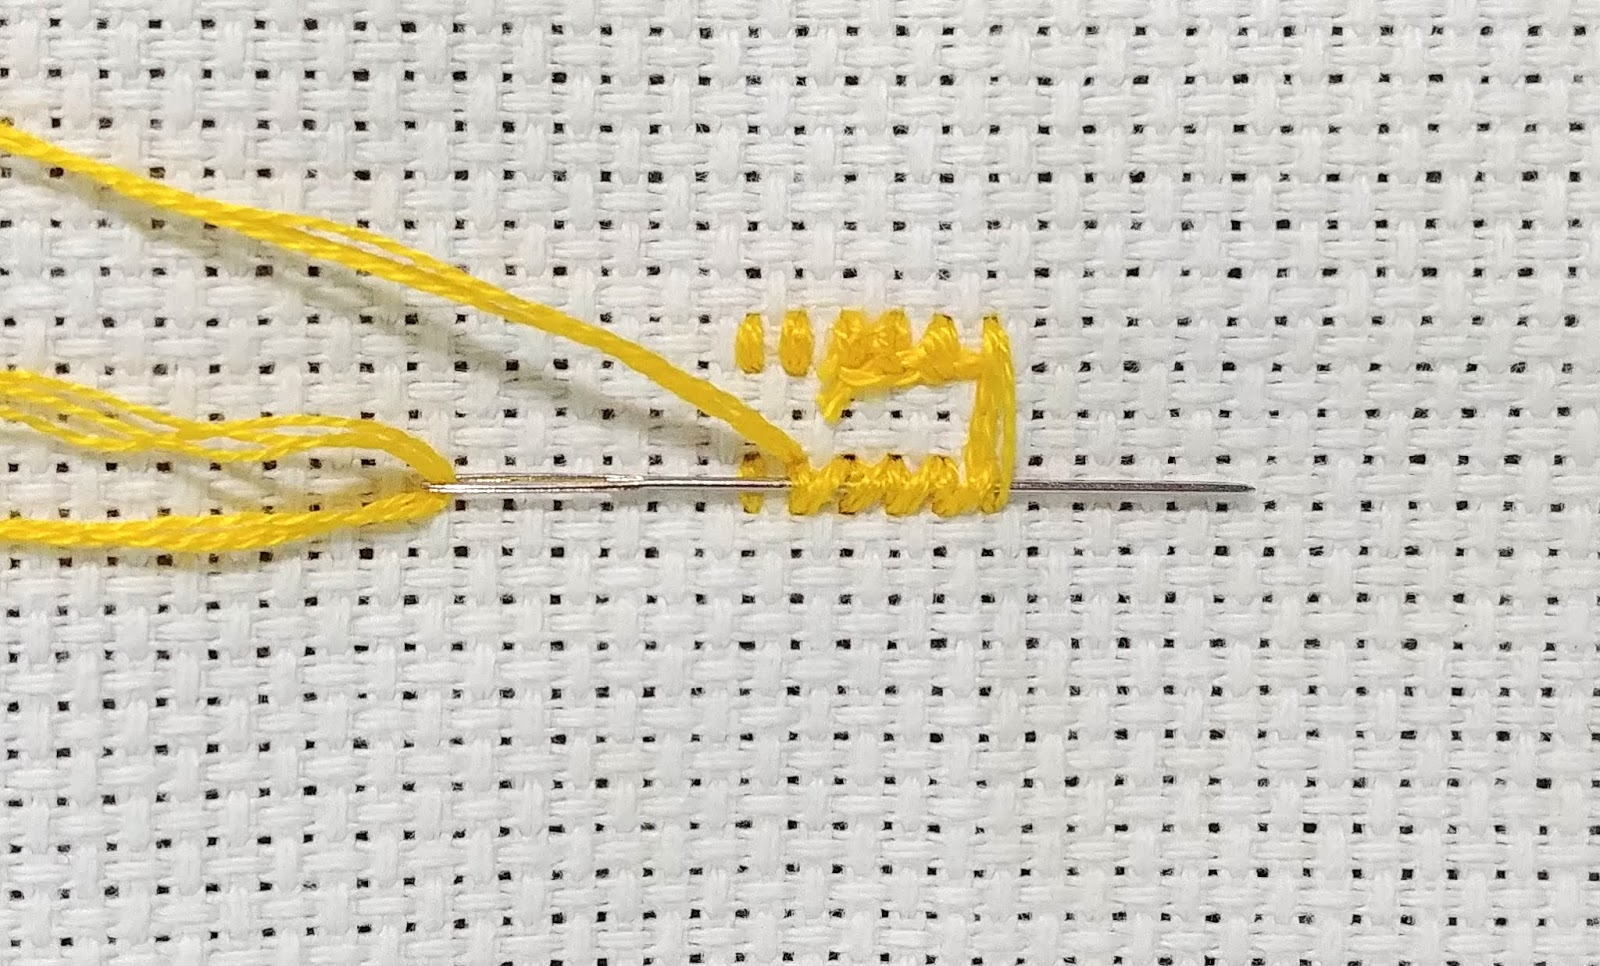
1 9. Finish a colour or strand.
When you are finished a strand, or want to change colour, tie off your thread by running the needle under 4-5 stitches in the back, preferably the same colour. Then reverse direction and run it under another 3-4, either beside the first ones or even using the same ones. Pull flat but not too hard, then snip the thread close to the fabric.
1 10. Keep up the good work!
Continue to stitch and highlight your pattern with colour after colour, and you will see your picture take shape. You’re cross stitching!
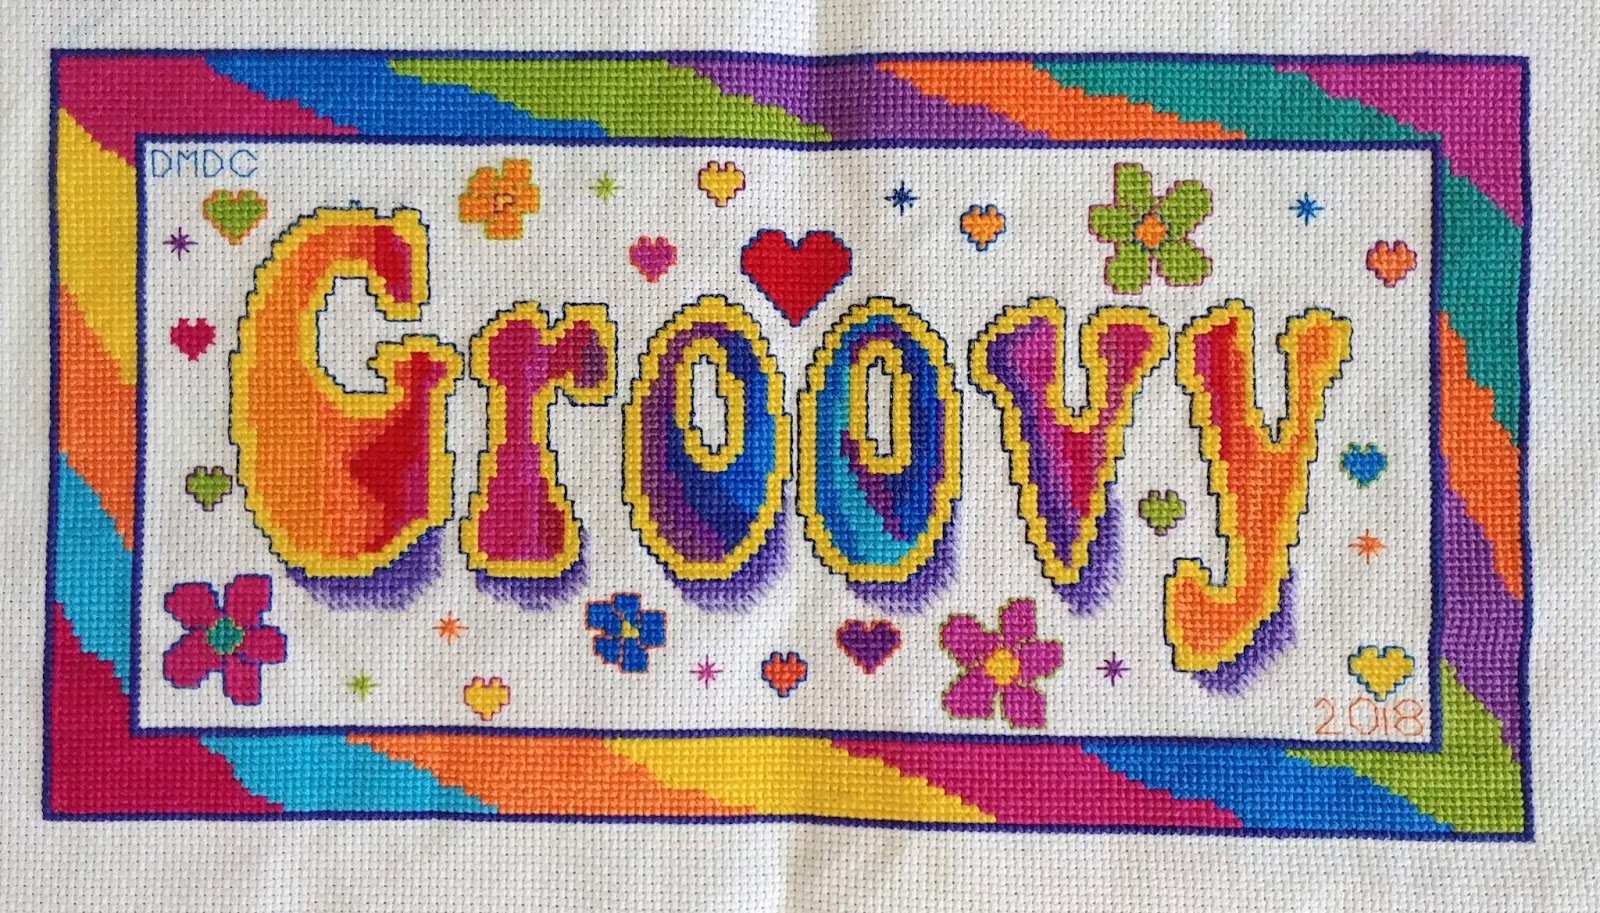
Do you like this pattern? I think it’s GROOVY! Click here for info!